You’ve learned the basics of what crypto is and why it matters. Now it’s time to roll up your sleeves and actually get started.
This module is all about the practical side of things, how to buy your first crypto, how to store it safely, and how to send or receive it with confidence.
By the end of this section, you’ll have gone through the full beginner’s journey: from making your first purchase on an exchange, to setting up a wallet, to making your very first transaction. Think of it as your starter kit for stepping into the world of crypto.
Down below, you will find a step-by-step guide to making your first crypto transaction safely, but before you think of buying a coin, you must familiarize yourself with the term “crypto exchange.”
What is a Crypto Exchange?
Think of an exchange as the marketplace of crypto. It’s where people go to buy, sell, or swap digital coins. Instead of trading fruit at a market stall, you’re trading Bitcoin, Ethereum, or thousands of other tokens.
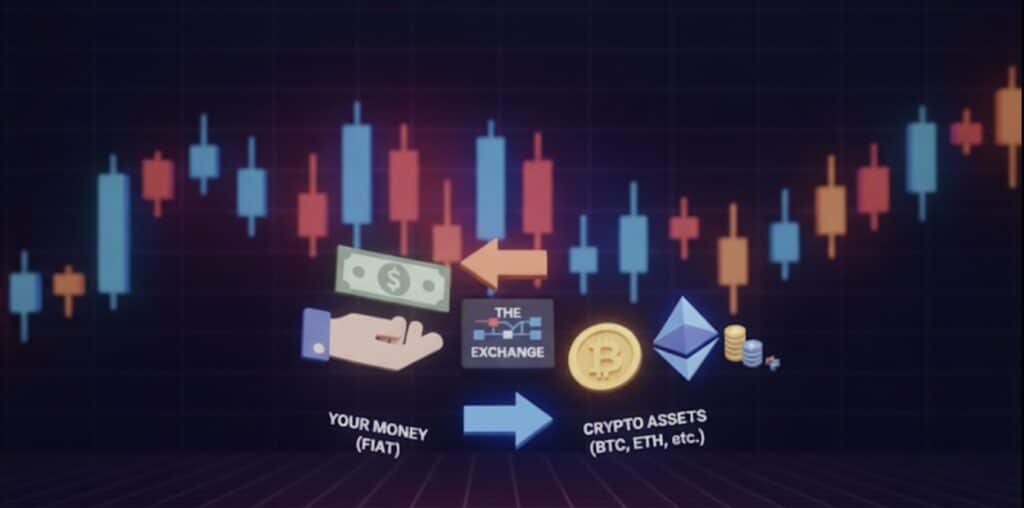
Some exchanges let you use pounds, euros, or dollars to get started. Others only let you swap one crypto for another. A few are designed for day-traders with charts and flashing numbers, but for beginners, you only need the basics: a place to turn your money into crypto. There are hundreds of exchanges in the market today; finding the right one to buy and sell can make all the difference.
For those just starting out, this can seem like an overwhelming task, but don’t worry. Our team has been buying, selling, and trading crypto since 2013, and we put together our list of the top crypto exchanges in 2026 that we recommend to help you out.
Centralized vs. Decentralized Exchanges
There are two main types of exchanges you’ll hear about:
Centralized Exchanges (CEX) – These are exchanges where a central authority holds your private key; they also have the power to freeze your account. These exchanges look and feel like a banking app: you create an account, verify your ID, deposit money, and buy crypto with a couple of taps. The upside is convenience and support if something goes wrong.
The trade-off is that the exchange holds your coins in custody, so you’re trusting them with your funds. Some of the examples include: Binance, Coinbase, ByBit, OKX, MEXC, Margex, among others. If you want to know more about it, take a quick look at our ‘What is a Centralized Exchange in Crypto?’ article.
Pros & Cons of CEX
Pros
Cons
Decentralized Exchanges (DEX) – DEXs empower crypto users to retain full control over their crypto assets. Basically, DEXes don’t take charge of your cryptos. There is no central authority, and all the decisions are made based on voting from community members. These are platforms like Uniswap, SushiSwap, PancakeSwap and others, depending on the network, that don’t require an account, KYC, or ID. You connect your own wallet, trade directly with other people, and keep full control of your funds.
The upside is privacy and control. The downside? It can be trickier for beginners, and you need to pay gas fees for every trade. Again, there are many DEXs available in the market today, you might want to check out our article on the best Decentralized Exchanges for July.
Here’s the short version: CEX = easy but custodial, DEX = private but more technical.
Pros & Cons of DEX
Pros
Cons
CEX and DEX Comparison
To better understand the difference, refer to the table below.
| Feature | CEX (Centralized Exchange) | DEX (Decentralized Exchange) |
| Control | Operated by a company | Runs on smart contracts |
| Custody | Exchange holds user funds | Users keep control of wallets |
| KYC/AML | Usually required | Often not required |
| Liquidity | Generally higher | Can be lower, depends on protocol |
| Speed | Fast, optimized order-matching | Slower, depends on blockchain congestion |
| Fees | Exchange-set, may include withdrawal fees | Network gas fees + trading fees |
| Asset Variety | Supports major tokens & fiat pairs | Wide range of tokens, incl. new |
| Security Risks | Hack/exchange failure | Smart contract bugs, phishing |
| Ease of Use | User-friendly, familiar UI | Requires wallet setup & Web3 knowledge |
| Accessibility | Can be restricted by region | Open to anyone with internet & wallet |
Now that you know the different types of exchanges, you might be wondering: How do I actually buy crypto? Or, what’s the process to create an account on a CEX? Don’t worry, we will tell you all the nitty-gritties. But here’s a quick point to note – If you are a complete beginner, we recommend going with a CEX since the process of buying or trading is relatively straightforward. DEXs usually require more familiarity with crypto.
One of our favourite ways to buy Bitcoin and other cryptocurrencies is directly from within a crypto wallet. This allows users to purchase crypto without having to trust a third-party centralized exchange, while also avoiding the complexities of a DEX. We recommend Best Wallet for this purpose as the easiest and safest method we have found for buying crypto. You can see a full guide on buying crypto in Best Wallet in our video below:
Practical Guide to Creating an Account on a CEX
Let’s walk through how you’d actually buy your first crypto on Binance, one of the world’s biggest exchanges with high liquidity. While this tutorial is for Binance, the process will be similar for most major exchanges. If you are looking to skip identity verification and get straight into trading, check out our guide to the Top No KYC Exchanges.
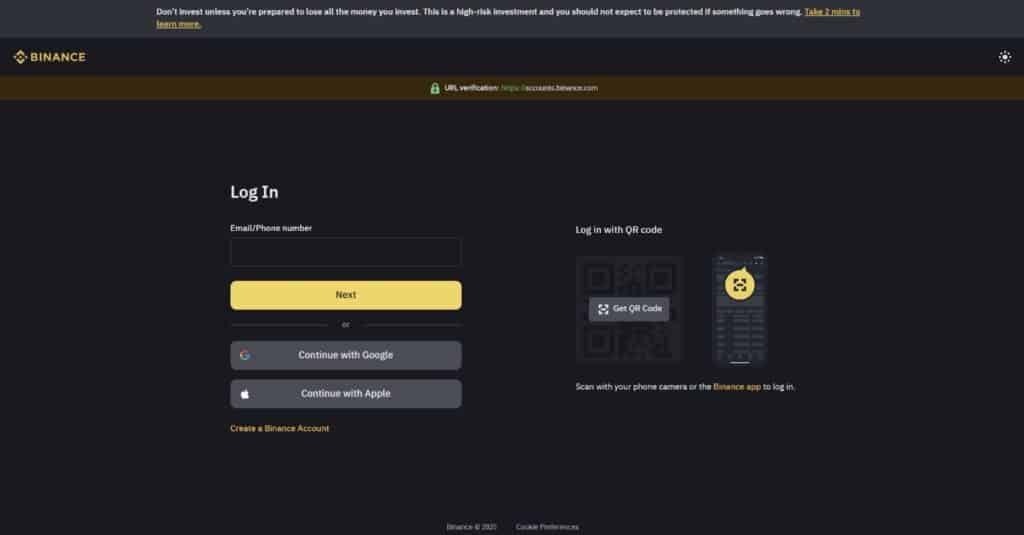
- Create an account – Go to the official Binance website (double-check the URL, phishing sites are everywhere). Sign up with your email, Google account or Apple ID and set a strong password.
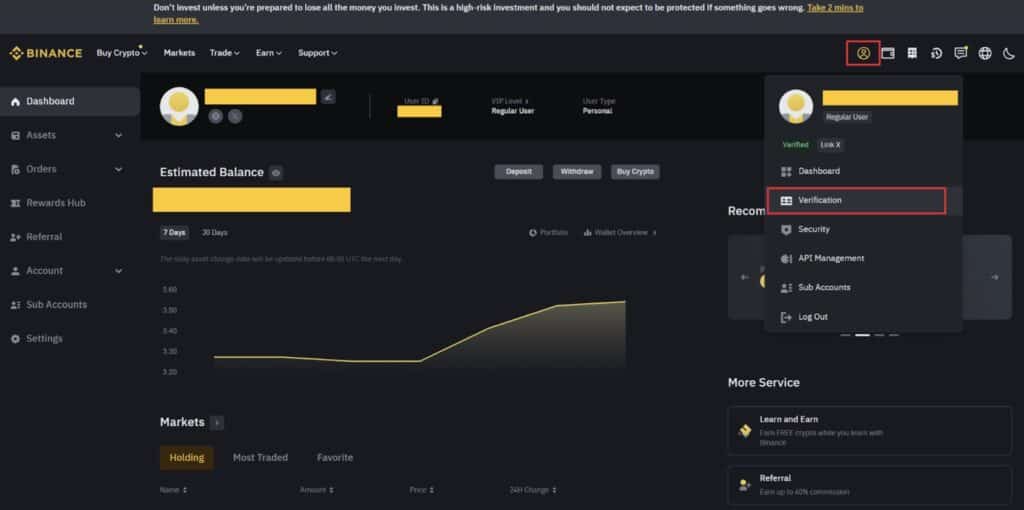
2. Verify your ID – Binance will ask for some documents like a passport or driver’s license. This is called KYC (Know Your Customer), and it’s required by regulators. To get there, hover your mouse over the profile icon, click on “Verification” and follow the steps.
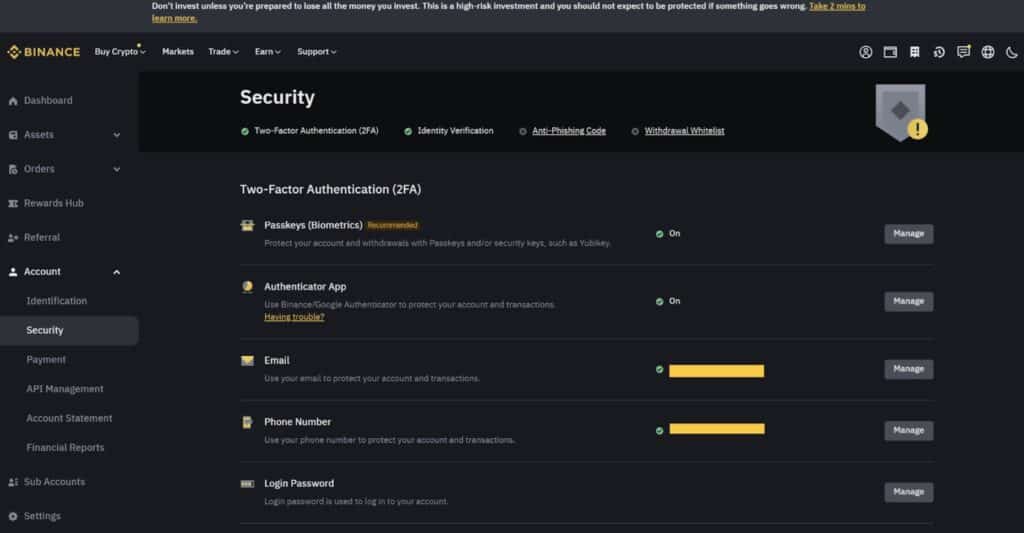
3. Secure your account – Turn on two-factor authentication (Google Authenticator or SMS). This adds a second lock on your account. To get there, hover over the profile icon again and select “Security.”
4. Deposit money – You can fund your account with a bank transfer, debit card, or sometimes even Apple Pay/Google Pay. Bank transfers usually have lower fees.
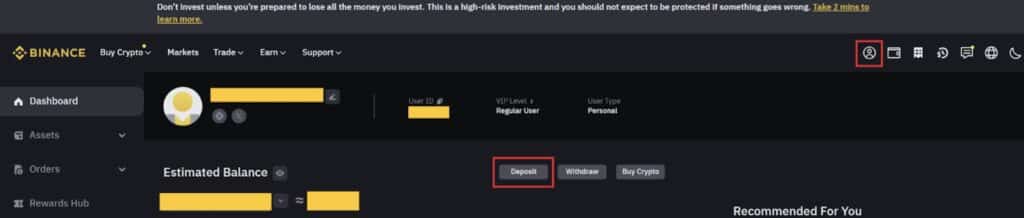
Click on your profile icon to get to your account dashboard and click on the “Deposit” button.
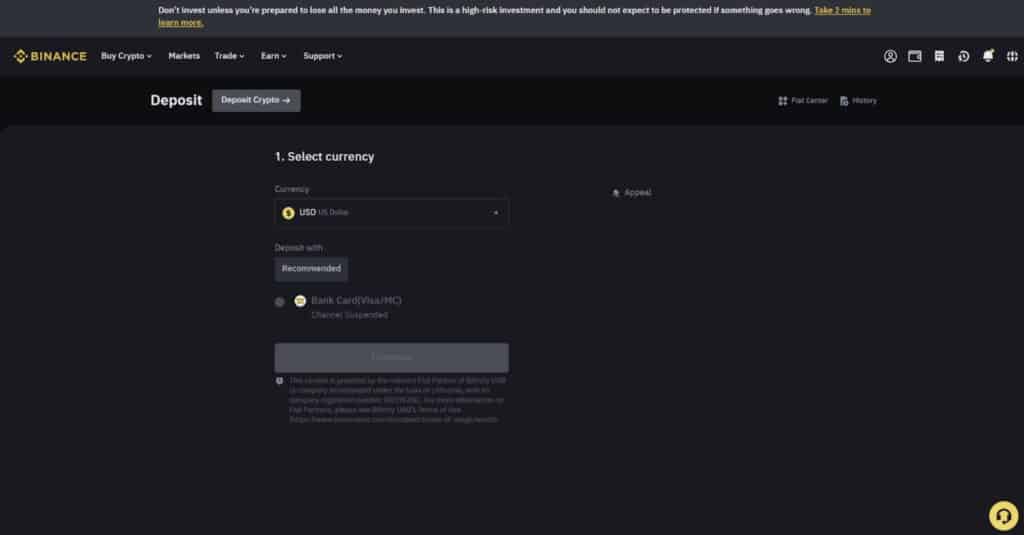
Once you arrive on the deposit page, choose your currency and how much you want to deposit. You can now buy crypto via spot trading by using fiat currency.
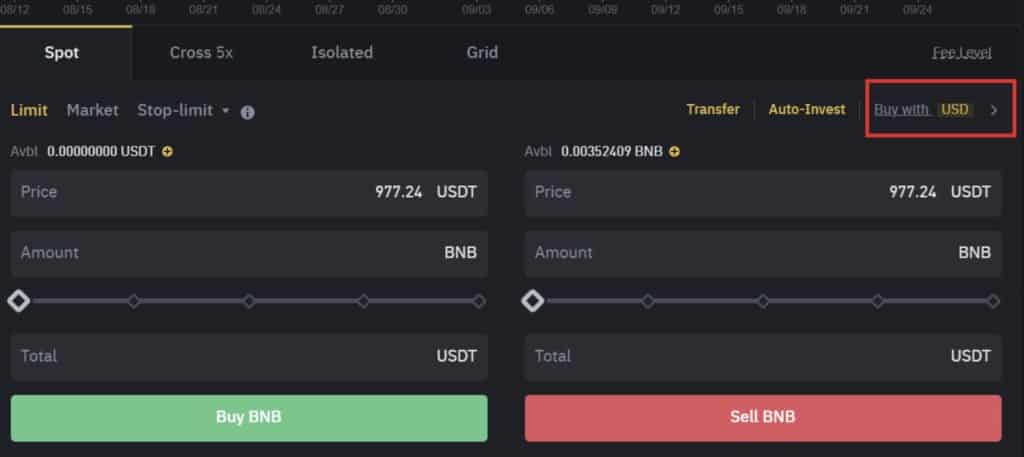
Just click on “Markets,” choose a coin, and scroll down to the order amount and select “Buy with USD” or whatever currency you deposited.
5. Choose your crypto/Buy Crypto – This method is more straightforward, letting you buy crypto directly with cash. Let’s say you want to buy Bitcoin.
Hover your mouse over “Buy Crypto” and choose the method you want to use. For this example, we’ll choose “Buy Crypto via Bank Card.”
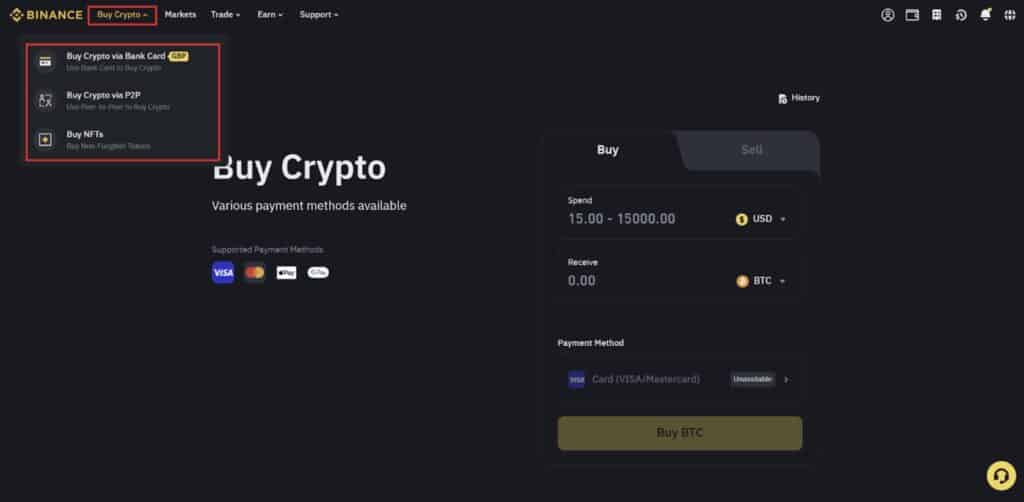
Choose the cryptocurrency you want to buy and how much, then click on the big yellow buy button.
6. Make the purchase – Confirm the trade, and boom, you now own your first piece of crypto. You can leave it on Binance if you plan to trade often, but for long-term holding, many people move their coins to a personal wallet for extra safety.
That’s it, you’ve just taken your first steps into crypto ownership. Exchanges like Binance make the process straightforward, and once you’ve done it, it’ll feel a lot less intimidating. If you want more details on this exchange, do take a quick look at our dedicated Binance review.